In a nutshell
- 🧇 Use aluminium foil as a non-stick skin: line the pan, apply a thin oil film, and cook on medium heat for clean release and even browning.
- 🔧 Step-by-step: crimp heavy-duty foil tightly, preheat 2–3 minutes, test with a dab of batter, flip with a thin spatula, and lightly re-grease every few pancakes.
- 🧴 Choose smart fats: ghee or a butter–oil blend boosts flavour and smoke point; aim for a satin sheen—no puddles—for consistent results.
- 🧪 Troubleshoot and stay safe: adjust heat if sticking or scorching, rest batter, add a teaspoon of oil if needed, and keep foil edges away from flames to prevent tearing or flare-ups.
- 🔄 Versatile alternatives: make sheet-pan pancakes, rig a camping griddle with double-layer foil, or use the hack as a reliable backup when non-stick pans falter.
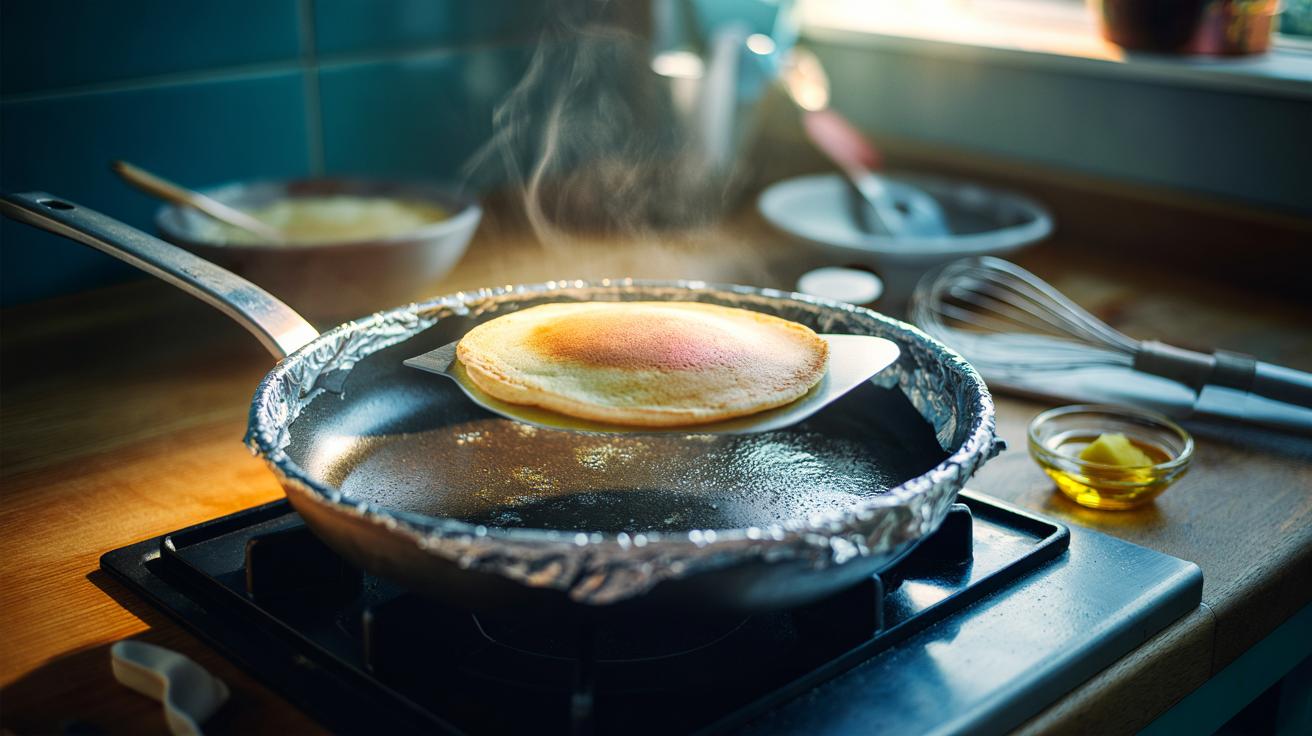
Your pan is hot, your batter is glossy, and then—disaster—the first pancake welds itself to the surface. A tiny tweak solves it. Line your pan with aluminium foil, add a whisper of fat, and treat the foil as a fresh, effortless non-stick skin. It’s a hack born in test kitchens and campfires alike, ideal when your non-stick has died, you’re renting, or you simply hate scrubbing. The trick isn’t magic; it’s about controlling contact, moisture, and heat. With foil, pancakes release cleanly, cook evenly, and flip without drama. Here’s how to make the method reliable, safe, and quick enough for any bleary-eyed breakfast.
Why Foil Works for Pancakes
Sticking happens when proteins and sugars latch onto rough or overheated metal. Foil sidesteps that. A layer of smooth, non-porous aluminium creates a fresh cooking surface and, once lightly greased, forms a micro-thin oil film that separates batter from metal. Heat conducts through foil efficiently, but that oil film is the real release agent. Get the oil layer right and the pancake will slide like a skater on new ice. Unlike scratched pans, foil has no pits to trap batter, so the first pancake becomes as reliable as the last.
There’s also a steam benefit. Batter releases moisture that, on bare pans, can create gummy bonds as water evaporates. Foil’s flatness encourages micro-beading and faster evaporation, so contact remains clean. Don’t fret about shiny versus dull side; the difference in reflectivity is negligible at hob temperatures. What matters is even heat and patience. Preheat the foiled pan on medium to medium-low, not roaring hot. Too hot, and sugars scorch before proteins set, which defeats the point.
For older steel or budget aluminium pans, foil acts as a reset. It reduces flavour carryover from last night’s onions and protects delicate batters enriched with yoghurt or sugar. In short: foil gives you control, especially when conditions (or cookware) are less than ideal.
Step-by-Step: The Foil Method
First, choose heavy-duty foil. Tear a sheet larger than your pan and press it in, shiny side up or down—your choice—smoothing from centre to rim to banish wrinkles. Crimp the edges snugly so the foil doesn’t skate. Wipe the surface with a thin film of neutral oil, or a butter-and-oil blend, using kitchen paper. Grease lightly; pools cause mottling and soggy edges.
Preheat on medium heat for 2–3 minutes. Dab a teaspoon of batter as a heat test: if it sizzles gently and releases after 30–40 seconds, you’re there. Ladle batter. Watch for bubbles across the top and a matte edge—signs the underside has set. Slide a thin silicone or metal spatula under the cake; lift confidently and flip. If you meet resistance, wait 10–15 seconds and try again. Don’t saw at it. The foil will flex slightly; that’s fine.
After every two or three pancakes, refresh the oil film with a tiny wipe. If the foil loosens, press it back with tongs. For thick, American-style stacks, lower the heat a notch to avoid overcooking the exterior before the centre is done. Never spray aerosol oil near a naked flame. When you’re finished, let the foil cool, then peel it off in one clean sheet. Pan saved. Breakfast saved.
Choosing the Right Foil and Fat
Standard supermarket foil works, but heavy-duty is sturdier, smoother, and less prone to tearing when you flip. The fat matters too. Butter brings flavour but scorches if the hob runs hot; a blend with rapeseed or sunflower oil lifts the smoke point without losing richness. Ghee is superb—pure milk fat, high heat tolerance, buttery taste. If you prefer ultra-light pancakes, a neutral oil brushed thinly gives crisp edges and an even, golden surface.
Use the table below as a quick reference for the sweet spot of kit and heat:
| Item | Best Choice | Why It Helps | Notes |
|---|---|---|---|
| Foil | Heavy-duty aluminium | Smoother surface, resists tearing | Crimp edges firmly |
| Fat | Ghee or butter–oil blend | Higher smoke point with flavour | Wipe on; don’t pour |
| Heat | Medium to medium-low | Even browning, clean release | Test with a dab of batter |
| Spatula | Thin, flexible edge | Slides under without tearing | Long handle for control |
A thin, even oil film is non-negotiable. Too little, and the batter bonds; too much, and it fries patchily. Measure with your eyes: a satin sheen, no puddles. If you crave crisper edges, add a touch more oil on the second side only.
Troubleshooting, Safety, and Smart Alternatives
If sticking persists, diagnose simply. Is the pan too cool? Batter can leak into minute creases and glue itself. Warm a touch. Too hot? Sugar burns and fuses; turn it down. Check the batter: high sugar or syrup in the mix needs gentler heat. Add a teaspoon of oil to the batter for extra insurance, or rest the mix 10 minutes to hydrate the flour and reduce tearing. The first pancake is your calibration run—use it wisely.
Safety matters. Keep foil edges away from gas flames. On induction and ceramic hobs, ensure the foil sits flat and fully inside the pan; no overhang. Avoid metal-on-metal gouging that could rip the foil; let the spatula do the work. If a tear appears, slide a fresh patch of foil on top, re-grease lightly, and carry on.
There are times to skip the hob entirely. Make sheet-pan pancakes: line a tray with foil, grease, pour batter, bake at 200°C for 12–15 minutes, then cut into squares. Camping? A double layer of heavy-duty foil over a grill grate becomes a makeshift griddle—oil, heat, batter, done. If you’ve a trusted non-stick pan, you may not need the foil at all, but it’s a brilliant back-up when cooking for a crowd or using unpredictable equipment.
Breakfast should feel easy, not tactical. With a sheet of aluminium foil, a quick wipe of oil, and steady medium heat, you turn a finicky task into a repeatable ritual. Pancakes release cleanly, flip neatly, and arrive on plates intact and golden. Once you’ve mastered the foil method, you’ll use it for crepes, drop scones, even blini on a camping stove. What twist will you try next—buttermilk with blueberries, or ultra-thin crepes with lemon and sugar—and how will you make the technique your own?
Did you like it?4.4/5 (23)