In a nutshell
- 🧪 The science: white vinegar (5% acetic acid) dissolves alkaline film, soap scum, and light grease; warm water and microfibre boost lift, and a two-minute dwell does the heavy lifting.
- 🧹 Method in brief: sweep first; mix 3L warm water with 200–250 ml vinegar (about 1:12–1:15), use a damp, not dripping mop, apply, wait 120 seconds, then wipe and buff; never mix with bleach or ammonia.
- 🧭 Surface guide: great on ceramic/porcelain tile, vinyl/LVT, and cautious use on sealed hardwood/laminate; do not use on marble or limestone—acid can etch stone; pick a pH-neutral cleaner if unsure.
- 💧 Streak-free tips: in hard-water areas, use distilled water, refresh solution often, rinse mop heads, and buff dry; odour fades quickly and leaves no harsh residues—pet and child-friendly.
- ⚡ Fast, frugal results: a 2-minute shine that brightens grout lines, reduces film, and delivers a low-cost, residue-free clean with minimal effort.
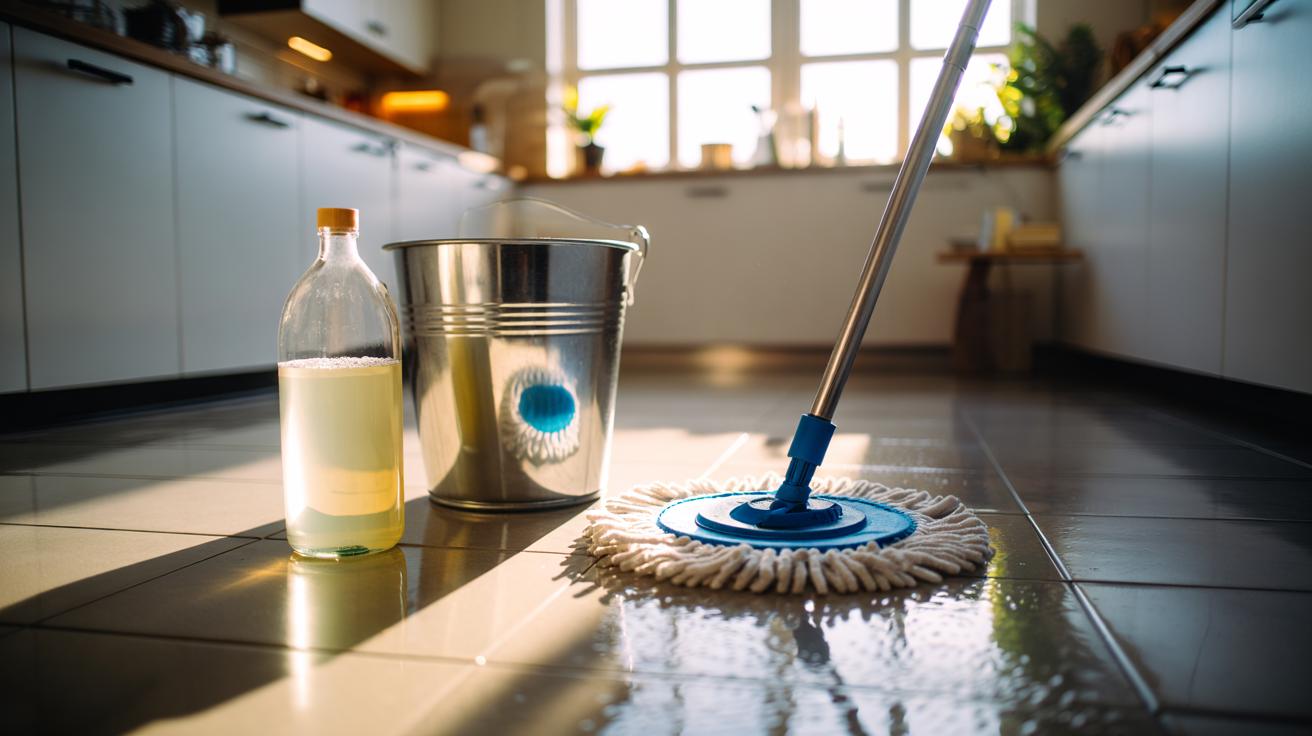
British kitchens and hallways take a daily beating, from muddy boots to dried spills and grey traffic lanes that never seem to lift. Here’s the quiet hero: white vinegar. Cheap, available on any high street, and powered by acetic acid, it cuts through film without a cupboard of chemicals. Used correctly, this natural solution can make floors look newly finished in about two minutes. No gimmicks. Just chemistry, warm water, and a good mop. The trick is timing, not elbow grease. Whether you’re tackling tiles after a Sunday roast or de-greasing a rental after a move-out, vinegar offers a fast, low-cost route to a clean, bright sheen.
Why Vinegar Lifts Grime So Fast
Vinegar’s power lies in its mild acidity. Standard household vinegar is roughly 5% acetic acid with a pH around 2–3, which dissolves the alkaline films that make floors look dull: hard-water minerals, soap residue, and fine plaster dust from that last DIY job. On greasy kitchens, it helps break down and loosen oils so they release from the surface, especially when paired with heat and a microfibre head. The result is a floor that not only looks cleaner but feels de-gritted underfoot. Allowing the solution to sit for around 120 seconds does the heavy lifting for you.
Warm water speeds molecular movement and helps emulsify light grease, while microfibre’s split fibres act like tiny hooks to lift particles from grooves and grout. Unlike many perfumed cleaners that leave a glossy residue, diluted white vinegar evaporates cleanly, reducing streaks on ceramic and vinyl. It’s especially effective in UK homes with hard water, where limescale films build up invisibly until tiles turn lifeless. When you keep the solution at the right dilution and give it a short dwell time, the difference is visible: clearer colour, sharper grout lines, and a quick, dry-to-touch finish.
The Two-Minute Method, Step by Step
Start simple. Sweep or vacuum to remove grit. Fill a bucket with 3 litres of warm water and add 200–250 ml of white vinegar (about 1:12 to 1:15). For kitchens, add one tiny drop of washing-up liquid if you’ve had a frying-heavy week. Stir. Wring until damp a clean microfibre mop; dripping wet is the enemy of a good finish. Work in sections. Glide the mop to wet the surface lightly, then stop. Let the solution dwell for roughly 120 seconds. That pause dissolves the dulling film that normal mopping leaves behind.
Return to the first section and wipe once more with the same damp mop, lifting everything the acid has loosened. For stubborn patches, a quick spritz of a 1:3 vinegar-to-water mix directly on the spot, two-minute wait, then a gentle wipe finishes the job. Dry quickly with a clean towel or flip-side of the mop for a brighter sheen, especially under sunlight where water marks love to show up. Open a window; the vinegar smell fades in minutes. Never mix vinegar with bleach or ammonia—hazardous gases can form. Keep the bucket fresh and uncluttered; cloudy water means you’re re-depositing residue, not cleaning it.
Floors You Can and Can’t Treat
Vinegar is versatile, but it isn’t universal. Tiles, vinyl and many sealed surfaces respond brilliantly to a mild solution and a short dwell. Wood and natural stone are different stories. Acids can etch limestone and marble, and frequent use on sensitive sealants can dull the finish. The golden rule is simple: check the manufacturer’s guidance, test a hidden patch, and use the lightest effective dilution with minimal moisture on any moisture-sensitive floor. If in doubt, choose a pH-neutral cleaner instead. Here’s a quick guide you can keep by the bucket.
| Surface | Dilution (Vinegar:Water) | Dwell Time | Notes |
|---|---|---|---|
| Ceramic/Porcelain Tile | 1:10–1:15 | 2 minutes | Excellent for soap film and limescale haze. |
| Vinyl/LVT | 1:15 | 2 minutes | Avoid puddles; dry for a streak-free finish. |
| Laminate | 1:20 | 1–2 minutes | Mop barely damp; never soak joints. |
| Sealed Hardwood | 1:20 (sparingly) | 1 minute | Test first; avoid waxed or oiled wood. |
| Natural Stone (Marble, Limestone) | Do not use | — | Acid can etch and dull the surface. |
| Sealed Concrete | 1:15 | 2 minutes | Check sealer compatibility; buff dry. |
In hard-water areas across the UK, swapping tap water for distilled water reduces streaks on dark tiles and glossy vinyl. If you notice smearing, change your solution more often and rinse the mop head between rooms. Pets and small children? Vinegar leaves no harsh residues, and the temporary tang dissipates quickly. For shine, a final dry buff with a clean microfibre pad works wonders. Key practice: keep the acid mild, the mop damp, and the dwell time short. That balance delivers the headline result—fast clears, brighter floors, no sticky afterfeel.
A bottle of white vinegar, some warm water, and two calm minutes can reclaim the look of your floors without perfumes or plastic-heavy cleaners. It’s frugal, low-fuss, and it respects the surfaces we rely on every day. Handle stone and delicate finishes with care, mind the moisture, and let microfibre do the quiet graft. For most busy households, this is the easiest upgrade to your cleaning routine you’ll make this year. Ready to try the two-minute method on your own floors—and if you do, which room will you test first?
Did you like it?4.7/5 (26)